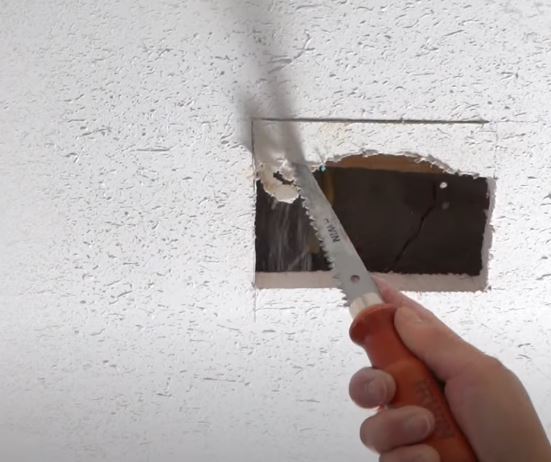
How to repair plaster ceiling cracks?
Fixing plaster ceiling cracks can make your ceiling look smooth again and prevent bigger problems. Here’s how you can repair plaster ceiling cracks and what you should expect.

How Do You Fix Cracks in a Plaster Ceiling?
Here’s a simple step-by-step guide to repairing plaster ceiling cracks:
Step 1: Clean the Crack
Start by cleaning the crack. Use a putty knife to remove any loose plaster or debris. This helps the new material stick better. It usually takes about 10 to 15 minutes.
Step 2: Apply Joint Compound
Use a putty knife to fill the crack with joint compound (also known as “mud”). Make sure to press the compound deep into the crack. Smooth it out so it’s even with the ceiling. Let it dry for a few hours.
Step 3: Add Joint Tape
If the crack is large, place joint tape over it after the first layer of joint compound dries. This tape helps to keep the crack from opening up again. Press the tape down and add another layer of joint compound over it. Smooth it out and let it dry completely.
Step 4: Sand the Surface
Once the joint compound is dry, lightly sand the area with fine-grit sandpaper to make it smooth. Be careful not to sand too much. This step usually takes about 10 to 15 minutes.
Step 5: Apply a Second Coat
If needed, add another thin layer of joint compound to cover the area better. Let it dry and sand again to make the surface even with the rest of the ceiling.
Step 6: Paint the Repaired Area
Once the repaired area is smooth, you can paint it to match the rest of the ceiling. Use a primer first, then apply the final coat of paint. This can take about an hour or more, depending on how much needs to be painted.
Things to Watch For When Fixing Plaster Ceiling Cracks
- Type of Crack: Hairline cracks can be filled easily, but bigger cracks might need joint tape for extra support.
- Ceiling Texture: If your ceiling has a texture, you may need to match it after the repair, which can take more time.
- Drying Time: Make sure each layer of joint compound dries completely before moving to the next step.
Preparing for the Repair
Make sure the area is clear of furniture or anything valuable that could get dust on it. Lay down a drop cloth to catch debris, and have tools ready, like a putty knife, joint tape, sandpaper, and paint.
You may like: floor refinishing services.
